Wednesday 30 March 2016

Owl Reduction Linocut - Part II


I'm finally done with the second layer for my owl reduction linocut. I have manage to obtain six decent prints out of the ten I had printed previously:


Anyway, now I'm only missing the final black layer which will hopefully look great on top of the yellow and orange.

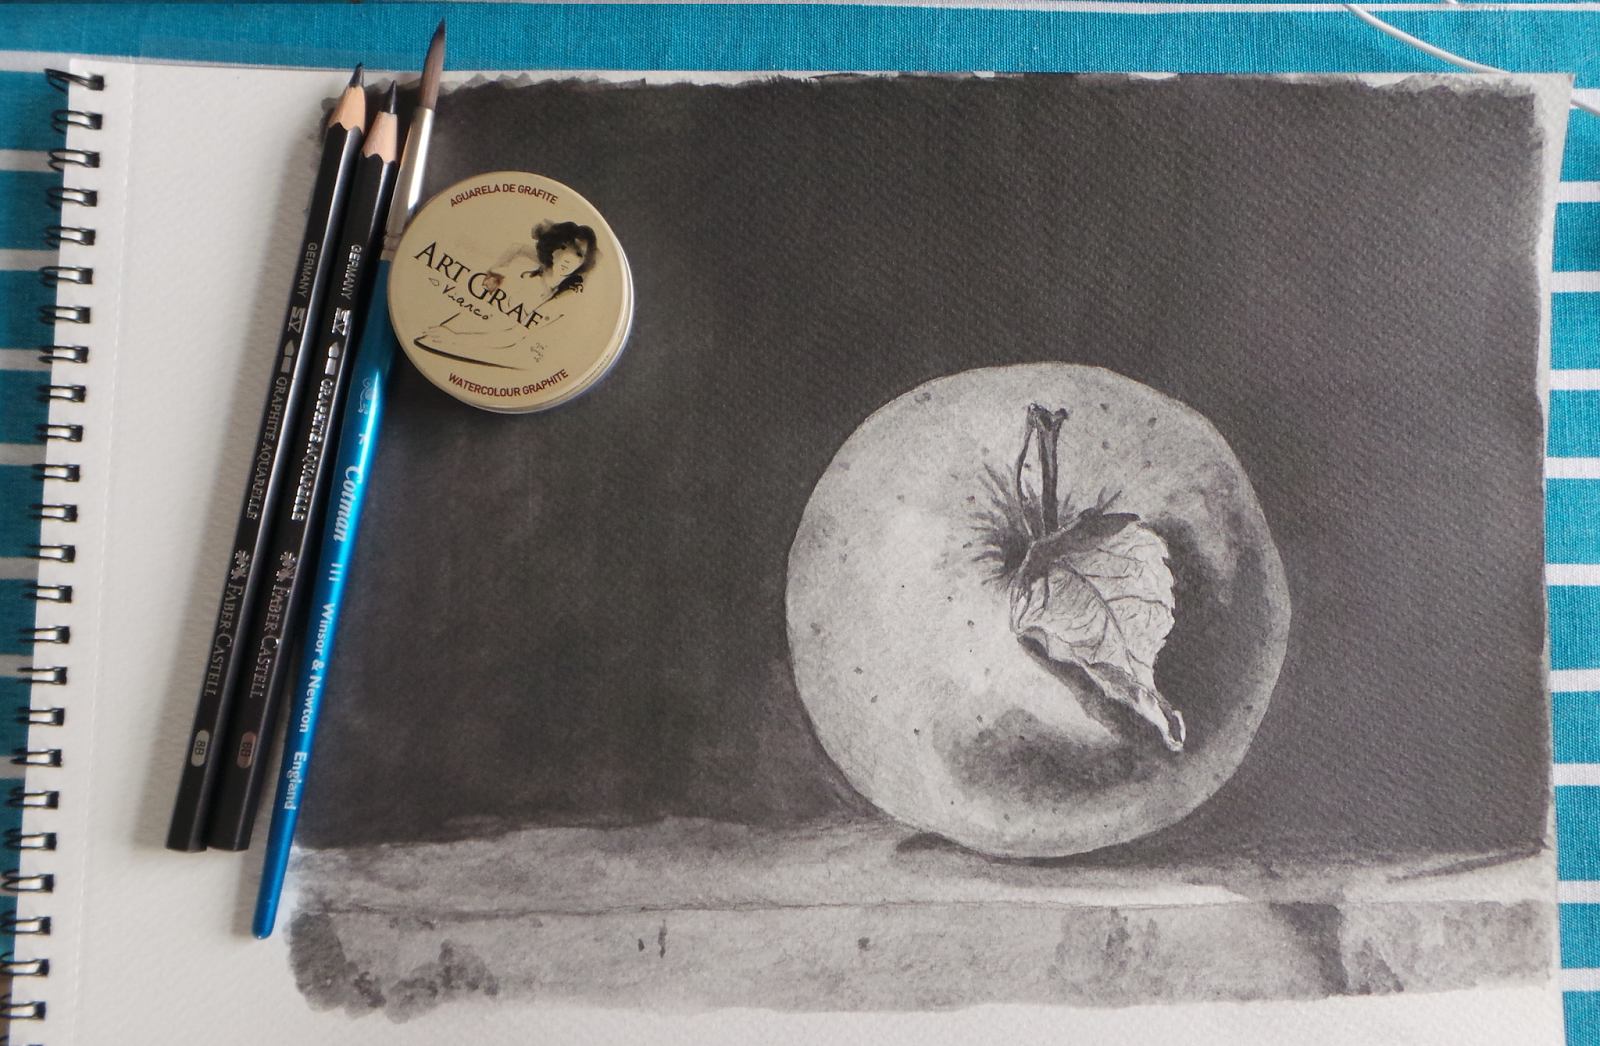
I have also been practicing drypoint techniques. First I'm starting by doing it on drafting film from Duralar using an etching tool, then I intend to try it out on plexiglass for example.


I have chosen a simple small drawing and then I will just color it with several different media to see what works best. The one on the left is colored with colored pencils and the one on the right is colored with watercolors.


Tuesday 22 March 2016

Owl Reduction Linocut


After a first experiment with Schmincke linocut inks, I decided they were really not working and order two more colors for my Caligo Inks set . And here are my prints:


I have done a set of 10, since my first experience of linocut reduction did not went so well...But I have learned my lesson, now I actually have a registration method (which I did not have the first time)!

I have based myself on a video from Belinda del Pesco, which is great to understand the reduction printing process, you can check it here.

Anyway, this will be a reduction block print of three colors, here is a close up of the first layer:


Bird Sketches


Bird sketches done with Derwent inktense pencils and sakura pens:


Sunday 20 March 2016

Apple - Value Study


A value study in water-soluble graphite, done with ArtGraf from Viarco and Faber-Castell pencils for the details in the apple.


I have done this in order to understand better the values before making a monoprint of the image.

It's a great medium for this kind of studies, even after the graphite as been wet and dry, you can still erase it, so many mistakes can be covered. You can also lift the graphite with a dry brush before it dries or with a tissue, just like watercolor.

Artist Belinda del Pesco has a great video on how to use this medium, you can check it here.

Sunday 13 March 2016

Monoprint and new reduction linocut project


My first attempt at monoprinting:


Since this was my first time a wanted to go with a simple design to see how it turned out. I would say it is Ok for a first go, but definitely needs some improvement:


I will be adding some dry media to the print to see if I can improve it a bit.

I have also pulled out the first test prints on my new project:


This will be another reduction lino cut, done with three colors similar to the heron I did a while ago. This time I have improved my registration system so hopefully I will get more decent prints then the last time. 

Sunday 6 March 2016

Reduction Linocut

So, this will be my first attempt at reduction linocut method. If you don't know what that is, the printmaker artist Belinda Del Pesco has a very comprehensive video on it, that you can check.

But basically you start out carving the lightest colors on your drawing and proceed to the darkest ones, printing by layers.

I started out with a simple sketch of an heron, planning to use only three colors (yellow, light orange and black). I did 8 prints in total, but only three came out decent.


With this method you really need to pat your expectations and print more than you think you will need, to consider that some of the prints will not come out well. Here is a close up from before and after the final layer.


This was done using Caligo Safe Wash Relief Ink (black) and Schmincke Linoprint colors (yellow and orange). I have to say I'm not a big fan of the Schmincke ink, I feel the Caligo Ink does a much better job, but now I have to stick with the Schmincke set....

Finally I have done small bookmark, just for fun with some left overs of the inks:


I was more happy with the bookmarker print then with the heron print, but overall it was fun to try this method and I'm definitely making more reduction linocuts in the future.